
Join us on a journey of precision longarm quilting excellence.
Discover the thrill of computerized stitching on longarm quilting machines.
Candy Apple Quilts - Your Favorite Quilting Destination
A little bit about we we do…

Designer Quilting Services
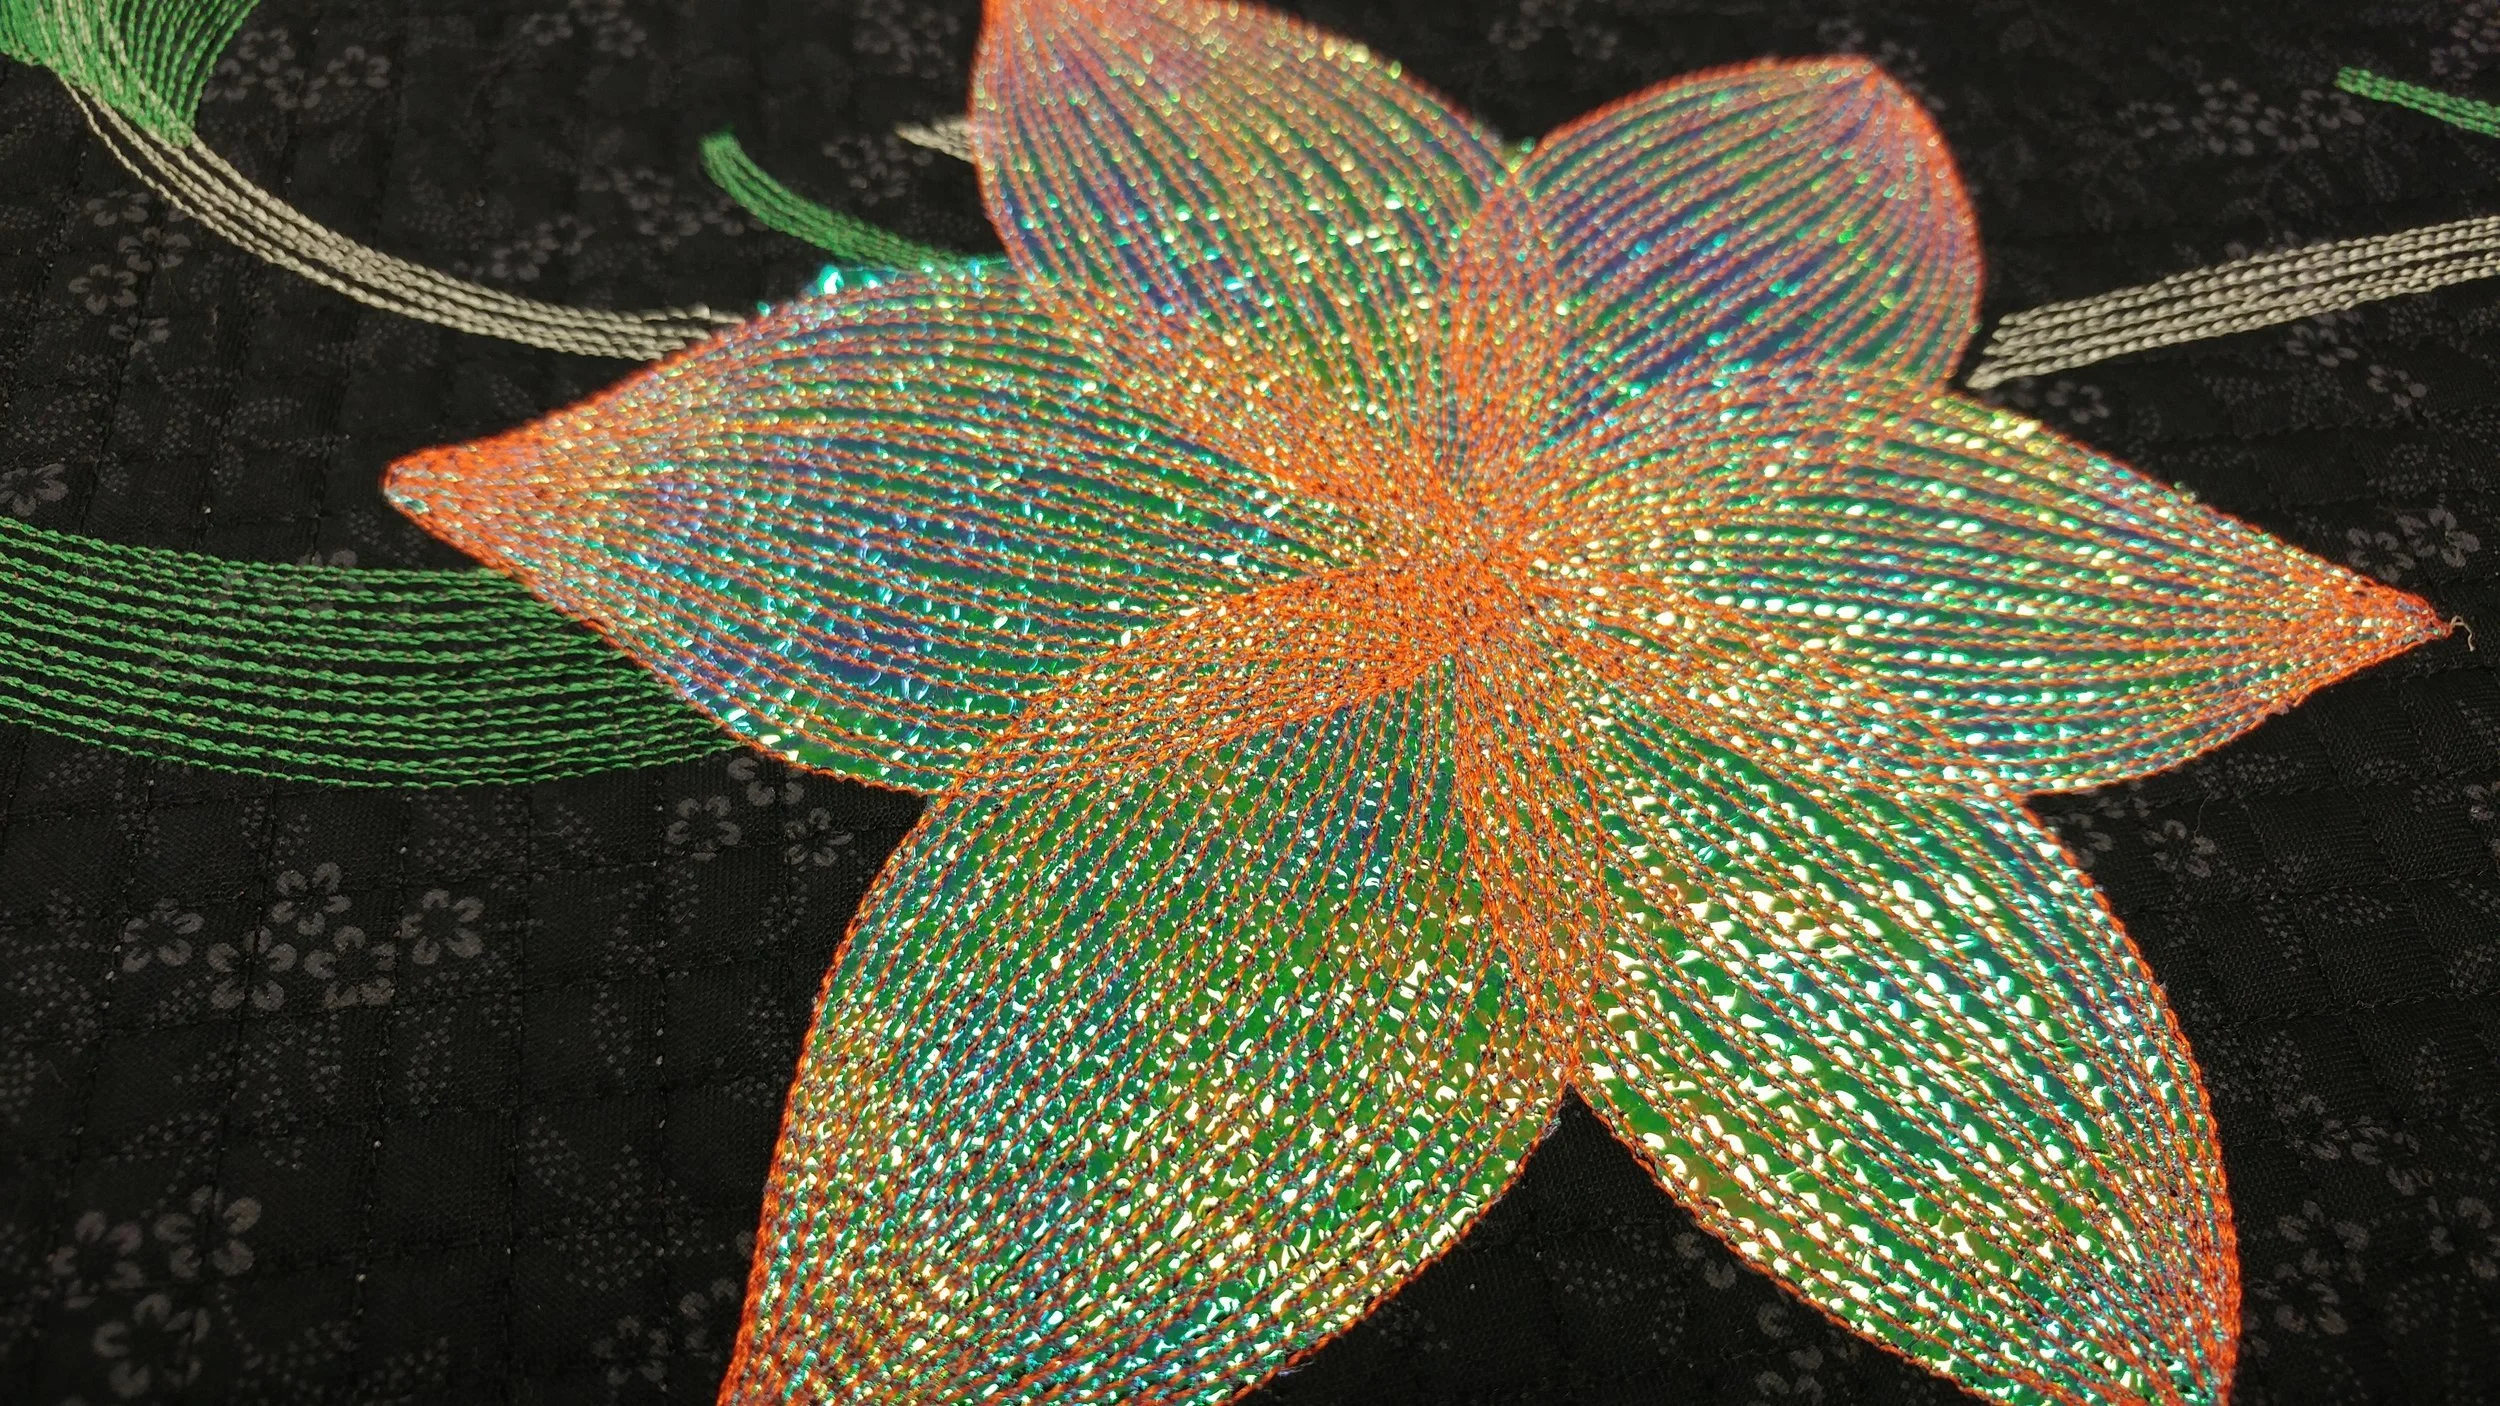
Your quilts deserve the absolute best whether custom or allover treatments are requested. You can choose the designs you would like, the thread colors, and the style of quilting. You are the designer!


Quality Binding Services
Stitched by hand or completed by machine — your choice. Or, we can add the binding to the front of your quilt so you can take it home and do the hand work yourself.
Antique Repair Services
Family treasures have so many stories to tell. Let’s extend the life of these heirlooms as long as possible. Schedule your quilt for repairs, new batting, or new binding.
Longarm Sales Services
Everything we do is on an Innova longarm quilting machine. Schedule an appointment to see one of these machines — and test drive it for yourself.
We're here to help you!
We're here to help you!

Unfinished Quilting Projects - Candy Apple Quilts respects incomplete quilts as creative opportunities. Journey paused, not forgotten. Revive with inspiration, joy, and satisfaction. Celebrating quilting at every stage, including unfinished works.
UFO’s? Confused? Stressed?
Instructions ominous? At Candy Apple Quilts, we know quilting instructions can be tough. Take breaks, read carefully, ask us for help. Fresh perspectives bring clarity. Embrace challenges, enjoy the journey!
Looming deadline? At Candy Apple Quilts, we are dedicated to easing deadline stress. You can trust us to deliver high-quality quilts in a timely manner, allowing you to breathe easy and confidently meet your deadlines with peace of mind.
Let us help with the math!
We have a page that has quick calculators that are just for quilters! Need to know how big to cut your batting or backing? Need to know how long to cut your binding? Use our handy calculators for any project you have in mind.

Celebrate the art of longarm quilting
We love new techniques that take your quilting to the next level.
Welcome to Candy Apple Quilts, where creativity and craftsmanship come together to create timeless works of art. Our passion for quilting is evident in every stitch, as we handcraft each quilt with precision and care. Whether you're seeking a cozy quilt to snuggle up with on a chilly night, a beautiful heirloom piece to pass down through generations, or a custom creation that reflects your unique style, you've come to the right place. Our extensive collection of fabrics, patterns, and designs ensures there's something for everyone. Explore our website and discover the world of Candy Apple Quilts, where quilting is not just a hobby but a way of life.
All quilting is completed on an Innova M Series longarm quilting machine equipped with the finest stitch quality in the world. When you bring your quilt to us you will be able to choose from a vast array of designs to finish your quilt perfectly. You will be able to see all of the thread colors that are available, and binding options for the edges of your project. You can watch the Innova M28 stitching, and enjoy the quality that will make your quilt a family heirloom. Schedule an appointment to drop off your quilt, or to see a demonstration of the Innova quilting machine.